

That way everyone would know when they were at the right house! I had given a mini tutorial last fall but I have since made another for a friend of mine because she liked the one on my porch so much and I thought I would now give a more detailed tute so you can make your own!

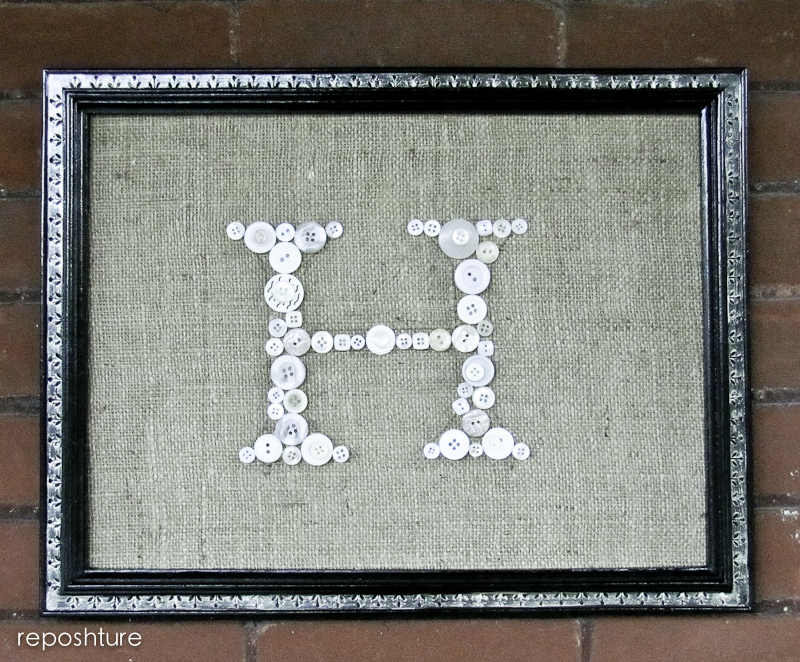
Here it is up-close. I used half buttons and half tacks because I did not have enough tacks or buttons to do the whole thing in one or the other. You choose, it looks great either way.
You will need:
burlap the size of your picture frame
picture frame with a card board back
cardboard if not in the picture frame
pencil
hot glue gun and glue
Flat buttons in a monochromatic color scheme- I like cream/white on burlap but use what you want
computer to print out your initial in Font of your choosing and size

Burlap can be very see-through so glue it to a piece of cardboard so that white does not show through.
Pull burlap tightly and glue edges in place.

Print out a letter from your computer in a font that you like. I made mine out of Castellar in size 800! Try to choose fonts that have some thickness to the letters as you will be filling in the outline. As you can see, I modified the font a bit on the ends so I could more easily fill it in with buttons.

Trace the outline lightly onto your burlap with a pencil

I usually place my biggest buttons first and then fill in. Do not glue yet. You will be moving your buttons around a lot so wait until you have an arrangement you like. Not every space needs to be filled in.

Here everything is filled in and as yo can see I changed out a few of my larger buttons to make it work. Makes sure the bottoms of the buttons are straight on the lines so visually it looks even. Step back and make sure it all looks good. then glue each button with the hot glue gun.

I decided to add a few buttons on top of the other buttons to add dimension. I really like how this took it to the next level. I did have some buttons that had shanks on them and I used one of them in the middle. It really made it look cute.

The frame I had bought was $3 and in a really bad fake wood plastic. So spray paint it in black I did and then added some gold glaze to highlight the Fleur-a-lis design.
The pencil marks fade over time but the initial will stay forever.
Beware though, strangers may stop by your front porch early on a Sunday morning, knock on your door and ask if they can take photos of your letter because they love it. (true story-go read it!)
Just shake you head "Yes" and smile secretly.
You just inspired someone.
Feels good doesn't it?

Oh...love this Kim!!! The combo of the button and burlap is perfect!!!
ReplyDeleteThis is awesome!!!
ReplyDeleteJan @Door251.com
So cute!!!
ReplyDeleteI like your ideas!
ReplyDelete